Layer Breakdown
Every Layer Explained
Each layer is its own instruction set. Here is what was written for this generation and why each layer matters.
Layer 1
Style
The style layer is the global art direction. It tells the model what kind of visual world to render before anything else is described. Every subsequent layer is interpreted through this lens.
Ultra realistic live action cinematic style. Dark comedy with horror undertones. Multi shot Hollywood action montage with expensive cinematic coverage, not a single take. Photorealistic, 45mm film quality, ARRI camera, sharp focus, high detail texture, natural film grain, strong depth of field control, professional color grading. The tone should balance absurd humor with grotesque body horror. Grounded, gritty, cinematic, and visually premium.
Click to copy
Why it matters
Without the style layer, the model defaults to its own interpretation. Specifying "ARRI camera," "45mm film quality," and "multi shot montage" tells it this is not an animation, not a single clip, and not stylized. It is grounded live-action cinema. The genre tags (dark comedy, body horror) set the tonal register for every frame.
Layer 2
Environment
The environment is the set. Not just a location name, but textures, spatial depth, time of day, and atmospheric conditions. The model builds the physical world from these details.
A white pickup truck parked under a concrete overpass at dusk. A shallow river channel stretches behind it. Power lines and distant bridges frame the fading golden sky. The space should feel urban, open, and slightly empty, with long shadows, concrete textures, dry riverbed ground, and a calm evening atmosphere before the chaos erupts. The final commercial style burger shot happens in the same environment, with destroyed fast food packaging left behind after the attack.
Click to copy
Why it matters
"Under a concrete overpass at dusk" gives the model architecture, lighting conditions, and mood in one phrase. "Long shadows, concrete textures, dry riverbed ground" are rendering instructions. Every adjective is a texture the model has to produce. The more specific your environment, the less the model invents on its own.
Layer 3
Character
The character layer defines appearance, wardrobe, posture, and emotional energy. Not just what they look like but how they behave.
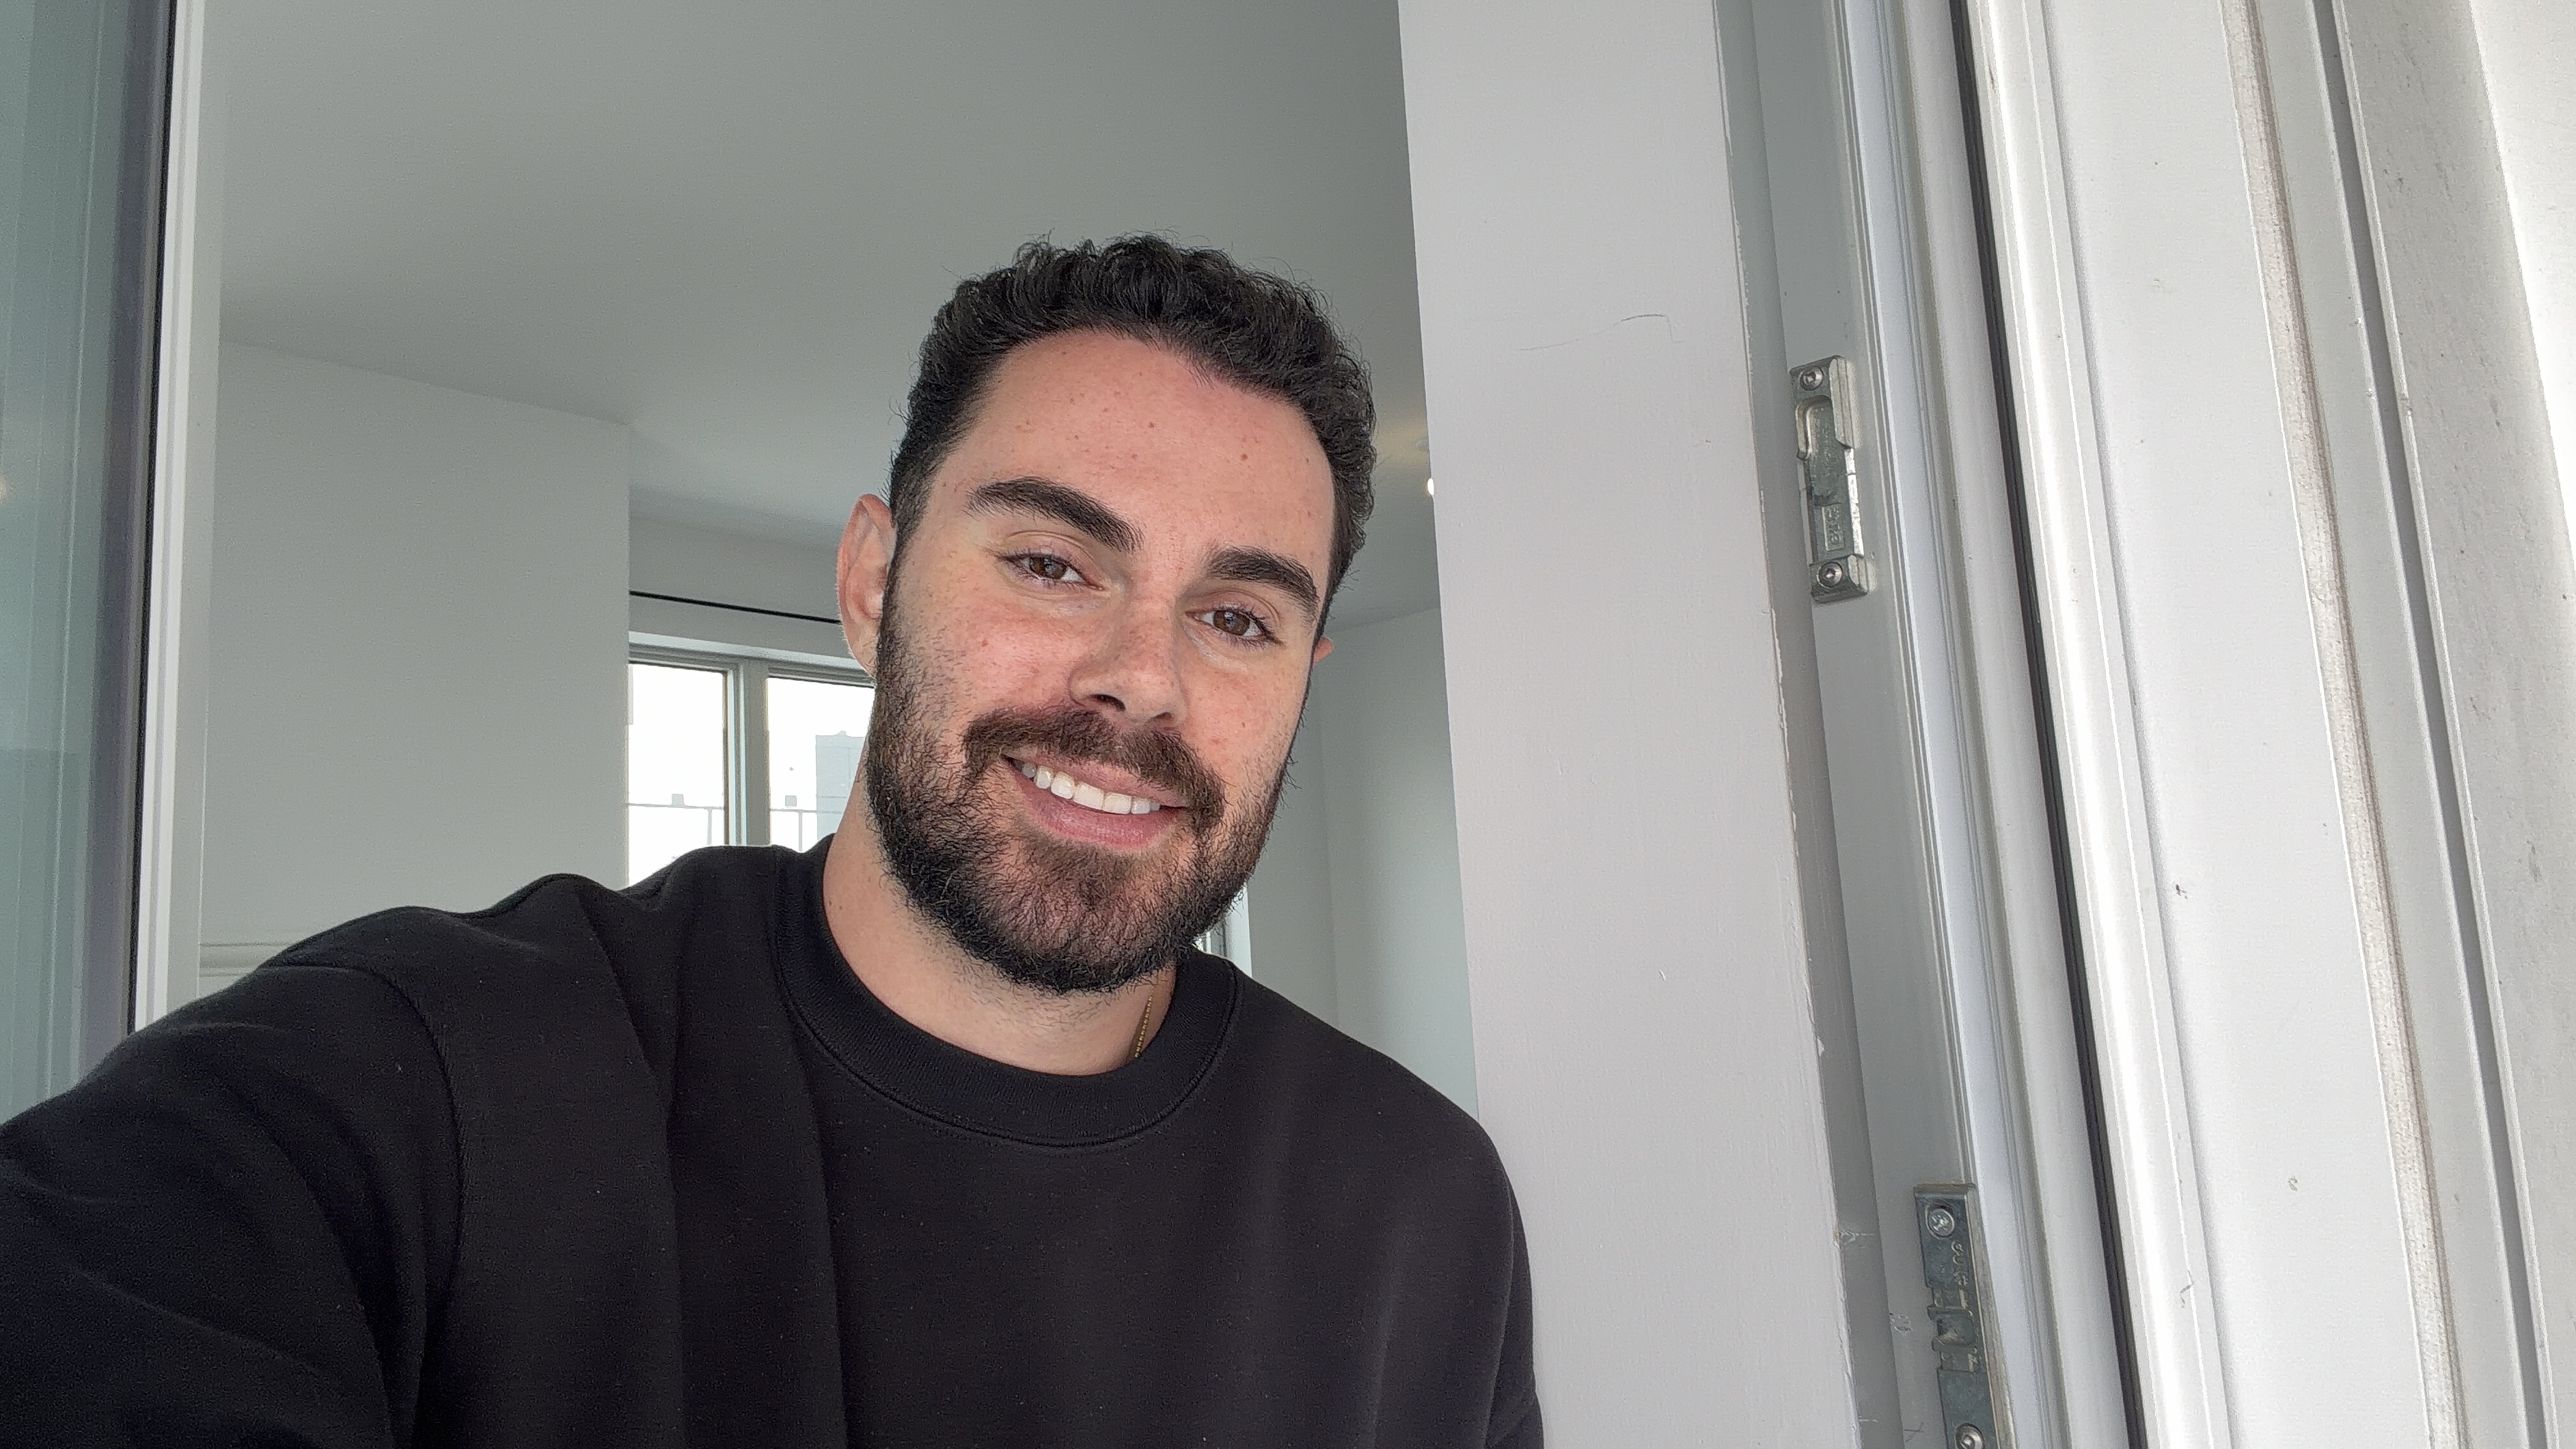
Upload Your Own Face
Inside Enhancor, you can upload your own face as a reference in the Influencers upload slot. The model uses your photo to guide the look of the generated character, matching skin tone, hair, and facial features. This is how the actor in this video was directed.
A dark haired bearded man in a black crewneck and jeans. He is relaxed, casual, and completely unfazed by danger. He sits cross legged on the hood of the truck, lazily eating a burger like he does not care about anything happening around him. His energy is mildly annoyed at worst, never panicked. After the attack, he returns to the exact same calm attitude, picks the burger back up, and keeps eating as if nothing happened.
Click to copy
Why it matters
"Mildly annoyed at worst, never panicked" is a performance direction. It constrains the model from generating dramatic facial expressions. "Returns to the exact same calm attitude" tells the model the emotional arc: flat line, not a curve. This is how you get deadpan comedy from an AI model.
Layer 4
Creature Form
When your scene includes transformation or non-human elements, this layer defines the visual design, scale, and physicality of the creature.
A massive pale tusked creature with elongated limbs, clawed hands, distorted proportions, and a grotesque expanding body. The transformation should feel violent, fleshy, physical, and cinematic. No glowing magic, no fantasy energy effects. Pure body horror, bone cracking, stretching, tearing, and monstrous scale.
Click to copy
Why it matters
"No glowing magic, no fantasy energy effects" is a negative constraint. It tells the model what NOT to do, which is just as important as what to do. Without this, the model might add magical particle effects that break the grounded realism established in the style layer.
Layer 5
Threat
If there is an antagonist or opposing force, describe it as its own layer. Separate from the main character so the model treats them as distinct entities.
A pale zombie with wet dark hair, bruised eyes, and a blood stained white shirt. It sprints out from the shadows of the river channel with jerky unnatural movement, aggressive and feral.
Click to copy
Why it matters
"Jerky unnatural movement" is a physics instruction disguised as a character description. It tells the model the zombie does not move like a normal human. This is how you get uncanny movement in AI video: describe the motion quality inside the character definition.
Layer 6
Core Action
The action layer is the plot summary in one sentence. It chains every beat of the scene with arrows to show sequence and flow.
Casually eating a burger on the truck hood → noticing the zombie with mild annoyance → setting the burger down → dropping from the hood → violently transforming into a massive tusked creature → devouring the zombie whole → shrinking back into human form → calmly returning to the burger → ending on a polished fast food commercial style zoom in
Click to copy
Why it matters
The arrow chain is a storyboard compressed into text. The model reads this as a sequence of events that must happen in order. Each arrow is a cut point. This is the spine of the entire generation, and the timeline layer expands on it with precise timing.
Layer 7
Energy
Energy is the emotional rhythm of the scene. Not what happens, but how it feels. This is your tone director.
Deadpan calm interrupted by explosive grotesque violence. The humor comes from how little the man cares. The horror comes from the sudden brutality and unnatural creature transformation. The final beat should feel absurdly polished and commercial after all the chaos.
Click to copy
Why it matters
Energy is the most abstract layer but one of the most powerful. "Deadpan calm interrupted by explosive grotesque violence" is a rhythm instruction. It tells the model the pacing: slow, slow, slow, EXPLOSION, slow again. Without this, the model might generate consistent energy throughout.
Layer 8
Camera
The camera layer is your cinematographer. Shot types, angles, movement quality, and how the camera behaves at each story beat.
Multi shot montage. Never one camera angle, never one continuous cut. Handheld shake throughout.
Shot language:
- medium hood shot for calm setup
- wide threat reveal
- close up reaction shot
- medium transformation shot
- wide low angle monster attack
- medium return to human form
- slow commercial push in on burger
The camera should sway gently at first, then become more unstable and reactive during the zombie sprint and transformation, then become smooth and polished in the final burger hero shot.
Click to copy
Why it matters
Listing specific shot types for each beat is like handing the model a shot list. "Wide low angle monster attack" is not generic. It specifies the angle (low), the width (wide), and the content (monster attack). The camera behavior description ("sway gently at first, then become unstable") creates a dynamic arc within the cinematography itself.
Layer 9
Lighting
Lighting is what makes the image feel real. This layer defines the quality, direction, color, and changes in light throughout the scene.
Cinematic dusk lighting with a soft golden evening sky filtered through concrete shadow. Naturalistic live action lighting only.
- golden dusk highlights on skin, truck, and burger
- deep concrete shadows under the overpass
- dark channel shadows where the zombie emerges
- high contrast texture during the creature sequence
- final burger shot with polished appetizing highlights and shallow depth of field
- destroyed packaging softly blurred in the background
Click to copy
Why it matters
"Naturalistic live action lighting only" is a guardrail. It prevents the model from adding dramatic fantasy lighting during the creature sequence. The bullet points map specific light qualities to specific objects, giving the model per-element lighting instructions rather than a generic "warm sunset" direction.
Layer 10
Physics
Physics tells the model how objects and bodies interact with the world. Weight, momentum, texture, and physical behavior.
The man chews naturally and lazily. The burger has realistic weight and texture. The zombie runs with unstable jerky momentum. The transformation is violent and physical: spine cracking, limbs stretching, torso expanding, jaw splitting open, body mass rising upward. The creature should feel heavy and real when it lands and lunges. The zombie should be grabbed with force and swallowed in one grotesque motion. After the kill, the creature rapidly contracts back into human form with disturbing fluidity. The burger hero shot should feel pristine and absurdly composed in contrast with the destruction behind it.
Click to copy
Why it matters
AI video models often struggle with physics. Describing specific physical sensations like "spine cracking, limbs stretching, torso expanding" gives the model frame-by-frame rendering guidance. "Heavy and real when it lands" prevents the common AI issue of objects feeling weightless.
Layer 11
Audio
Audio tells the model what the scene should sound like. Even in video models without explicit audio generation, this layer influences the visual pacing and implied sound design.
Ambient dusk city atmosphere at first. Soft chewing and wrapper movement. Distant environmental hum under the overpass. Sudden zombie footsteps and feral sprint sounds. Violent bone cracking and flesh stretching during transformation. Heavy creature impact and body movement. Grotesque devouring sound at the swallow. Silence or near silence after the kill for comedic contrast. Subtle wrapper handling and chewing again. Final polished commercial tone with slogan delivery: "McDonald's, I'm lovin' it."
Click to copy
Why it matters
"Silence or near silence after the kill for comedic contrast" is a pacing instruction delivered through audio language. The model interprets this as a visual beat: stillness, pause, nothing happening. Audio descriptions influence the implied rhythm of the video even when the model does not generate actual sound.
Layer 12
Timeline
The timeline maps every action to a specific timestamp. This is the editor's cut list. It controls pacing, duration per beat, and the exact sequence of events.
0 - 3s
Calm Setup
Medium shot of the man sitting cross legged on the hood of the white pickup truck, casually chewing a burger. Golden dusk light catches his face and beard. Camera sways gently.
3 - 5s
Threat Reveal
Wide shot of the concrete channel as the zombie bursts from the shadows, sprinting with jerky unnatural strides. Camera shakes while tracking.
5 - 7s
Reaction
Close up on the man's face. Chewing slows. Eyebrows rise with mild annoyance. He calmly sets the burger down on the hood beside him.
7 - 10s
Transformation
The man drops off the hood and his body violently expands into the massive pale tusked creature. Spine cracking, limbs stretching, jaws splitting open. Camera jolts with each bone snap.
10 - 12s
Attack
Wide low angle as the creature lunges and catches the charging zombie, lifts it, and swallows it whole. Jaw unhinges unnaturally. Camera shudders with impact.
12 - 14s
Return to Calm
The creature rapidly shrinks back into the man. He hops back on the hood, picks up the burger, takes another bite, and keeps chewing as if nothing happened.
14 - 15s
Commercial Punchline
Slow zoom into the burger. Dramatic food commercial hero shot. Sharp focus, shallow depth of field, glossy highlights. Destroyed packaging blurred in background. Text: "McDonald's, I'm lovin' it."
Why it matters
Timestamps are the single most powerful control mechanism. 3 seconds for setup, 2 seconds for threat reveal, 3 seconds for transformation. Each beat gets exactly the screen time it needs. Without timestamps, the model allocates time randomly and key moments get cut short or dragged out.
Layer 13
Style Boosters
Style boosters are keyword tags that reinforce the overall aesthetic. They act as a final reminder to the model of the visual and tonal priorities.
multi shot montage
handheld cinematic chaos
dark comedy timing
grotesque body horror
deadpan performance
golden dusk underpass mood
urban emptiness
35mm film texture
premium Hollywood coverage
commercial style burger ending
absurd contrast between horror and advertising
Why it matters
Boosters are the TL;DR for the model. If it loses track of the detailed instructions in earlier layers, the boosters pull it back to the core aesthetic. Think of them as weighted tags that reinforce priority keywords across the entire prompt.